

There are several basic actions that may be necessary at various times during your setup and management of any landscape on your property, and one of these may include measuring either parts of the landscape or the entirety of it. And while certain areas will be relatively simple and straightforward to measure, others may be a bit challenging due to unique layouts or related concerns.
At BioGrass Sod Farms, we’re happy to provide tips on measurement for any of our landscape supplies you might be in need of, from premium topsoil to mulch, bark nuggets, gravel, rock and numerous other options. Why is yard measurement often so important, and what are some simple ways to measure any kind of space within your landscape? Let’s dive in!
Why Landscape Measurements Are Often Important
Firstly, let’s go over why it’s important to measure your yard or related landscapes. In many cases, you might want to know the square footage of an area as a starting point before making any major decisions regarding its setup and management.
For example, if you’re considering whether to plant a given type of tree within a specific space, such as near your property line, it’s important to get an idea of this area’s exact dimensions as a first step in determining what type of tree will work well. Or, if you’re looking to install a new irrigation system or perform some other kind of landscape renovation or improvement, knowing the total square footage of the space is essential for planning and budgeting purposes.
Our next several sections will go over how to measure varying spaces, starting with some of the simplest and moving to others that may require a bit more effort.
Square or Rectangular Areas
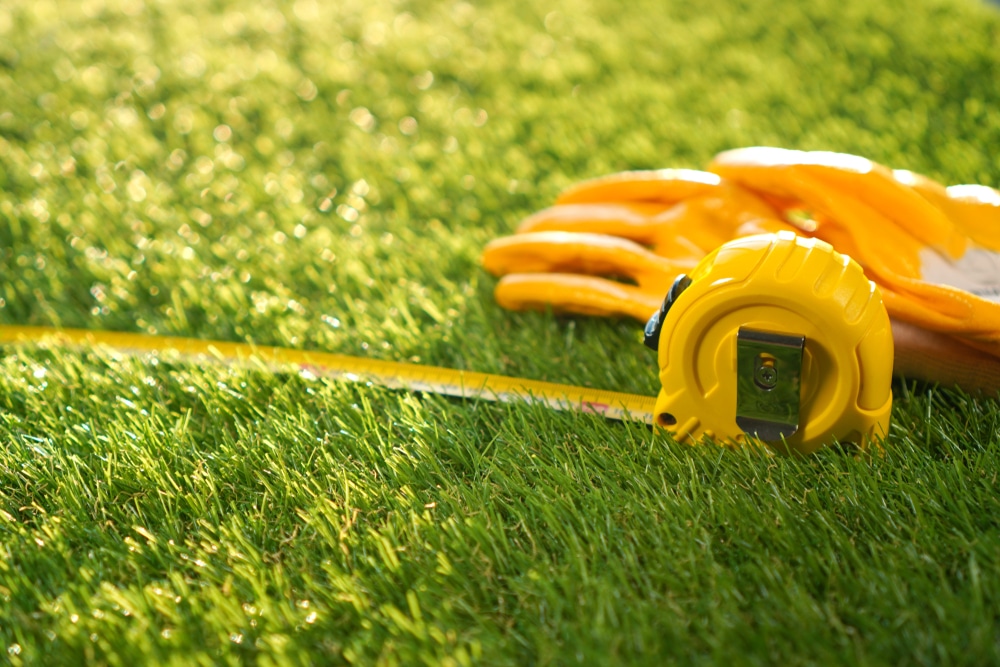
For those who are measuring a simple rectangular or square area, or who only need rough measurements and can afford to expand or contract a space into such a shape to help simplify the process, this is often one of the easiest things to do.
To measure such an area, you’ll probably want to start with a tape measure or another type of measuring device and then mark off each side as necessary. Then you’ll have several options for estimating the overall square footage. The simplest method, as many will already be aware, involves multiplying the length and the width of the area — that’s your rough square footage right there.
Handling Obstructions
What happens if there are obstructions such as trees or rocks in the way, however? In these cases, you might choose to first remove any of these larger objects from the area if possible. This can then allow for a more accurate measurement; for example, if you’re measuring within a zone that’s being heavily shaded by a tree or bushes, your overall square footage estimate may be inaccurate in cases where the area doesn’t truly cover all areas of the shade.
Other times, you might not want to move any obstructions or remove them if that’s a costly or time-consuming process. In some cases, it’s possible to make adjustments that will help compensate for such factors — for example, if a tree trunk is within the area you’re measuring, you could simply subtract a certain amount of square footage for each foot of that trunk or related features. You could also simply take multiple measurements at different locations — perhaps closer to the tree than your first point of measurement, and then farther away from it — if this makes sense for the space being measured.
Circular or Oval Areas
While circular or oval areas can be a bit tougher than rectangular ones, they’re still relatively straightforward — especially anything close to a pure circle. In these cases, your main challenge is finding the centerpoint of the circle or oval.
To do so, you’ll likely want to use a string and some other type of circular object (such as a marker or stake) that’s large enough to span the entire space being measured; for example, if you’re measuring an area that covers 10 feet in diameter, you might choose a 12-inch diameter stake for this purpose. Then, you’ll simply need to tie one end of the string to a marker or other object set in the centerpoint, and use a tape measure or similar device to walk around this central object while measuring along the string until you’ve completed your entire measurement.
Slopes or Gradients
If your landscape has any sloping involved, you have to account for this. This is usually done by placing stakes at the highest and lowest points of the slope involved, usually with intervals of either eight or 10 feet. From here, tie a string to the bottom of the highest stake, then use a carpenter’s level to measure against it at full levelness. The string will then be dropped and attached to the next stake, and so on until the lowest stake is reached.
At this point, measure the length of the string and its height at each stake. Then divide the final combined height by the length.
Other Strange Shapes
If you’re dealing with any other type of shape, it’s worth noting that the above methods may be a bit more difficult to use in these cases — particularly if you’re working with some sort of unusual or irregularly shaped area. In these instances, your best bet is often to break down the space into smaller parts.
For example, if your outdoor space is significantly curved or has a number of sharp angles, you may be able to break it down into smaller sections that are easier to measure. In some cases, it might even make sense to use multiple methods together, such as the previously mentioned method combined with another approach.
With some basic attention to detail, it’s simple enough to measure most spaces in your landscape for any product need. For help with this or with ordering any of our landscape rock, soil or other products, contact our team at BioGrass Sod Farms today.